How to use the AssemblyBoard tool
The first step is to create an assembly drawing containing a bill of materials.
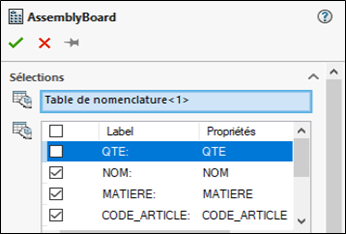
- Launch the AssemblyBoard tool and select the BOM:
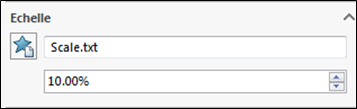
- When creating the views corresponding to the components, the tool calculates the possible scale to fit the view into the boxes defined on the pages.
Next, the tool takes the smallest scale specified in the file that can be included in the view. This file can be customized (.txt file location by clicking on the )
)
- You can customize the visual of the sheet you wish to obtain. To do this, click on the button and move the mouse cursor to select the number of boxes.

Horizontal gaps and vertical
 are used to increase or decrease the distance between views.
Annotation offset  increases or decreases the minimum space between the bottom of the view and the annotation position.
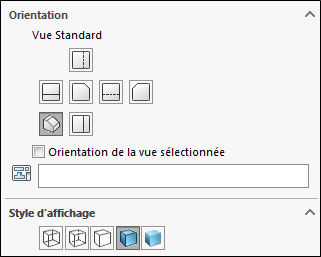
- Next, specify the orientation and display style of the generated views. This selection applies to all views on all pages.
Once these settings are complete, click on the green tick.
A new layout will be created with the various views.
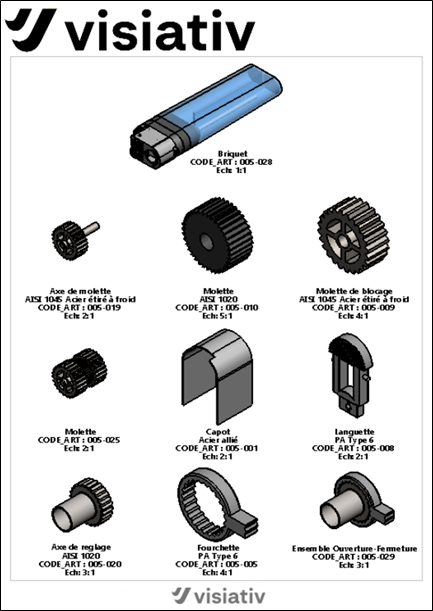
Here is an example of the result obtained with an assembly of several parts: