
Formats
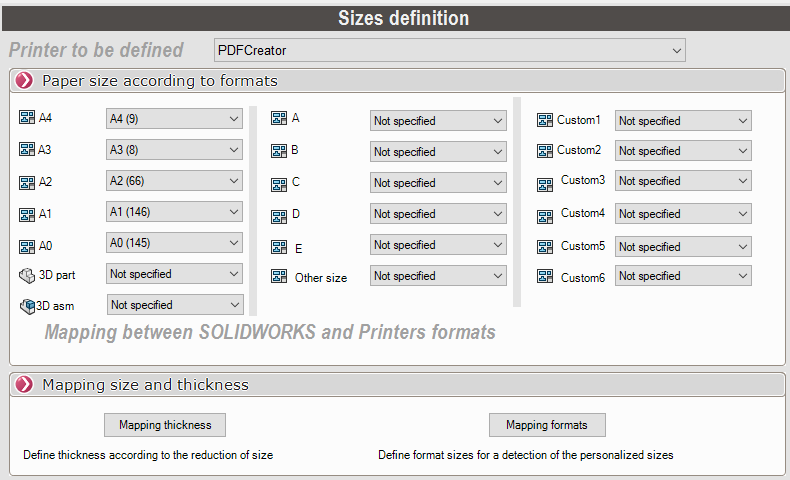
- Printer to be specified:
From the drop-down menu, select the printer you chose in the Printer Settings menu.
- Paper size by format:
For each SOLIDWORKS file format, specify a paper output size for the selected printer.
In this example, a drawing in A2 format will print on your printer on A3 paper.
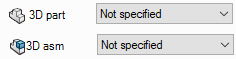
- You can set up a print output for part and assembly files.
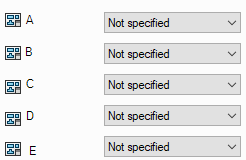
- For other formats (all formats not listed in this menu).

- For U.S. formats.
- For custom formats.
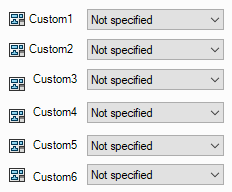
To customize formats, use the  (See below). In the table, custom formats are defined by the names C1, C2 and C3 .
 Once the paper sizes and formats have been defined for this printer, these settings are automatically saved when the tool is closed.
- Configuring multiple printers:
If you have used the Define printers according to formatsSelect a new printer from the drop-down menu and make the settings for each printer used.
Once the paper sizes and formats have been defined for each printer, these options are automatically saved when the tool is closed.
- Correspondence of Formats and Thicknesses:

- Thickness mapping:
Reducing the drawing size will decrease the line weights when printing (for example, if an A0-sized drawing prints as A3 on your printer). In this table, you can set line weights based on the size reductions.

To modify this table, the option must be unchecked.
- Mapping formats:
To print in the correct format and on the correct printer, SOLIDWORKS must recognize the formats of the selected drawings. In this table, you can specify a width and height for each print format.
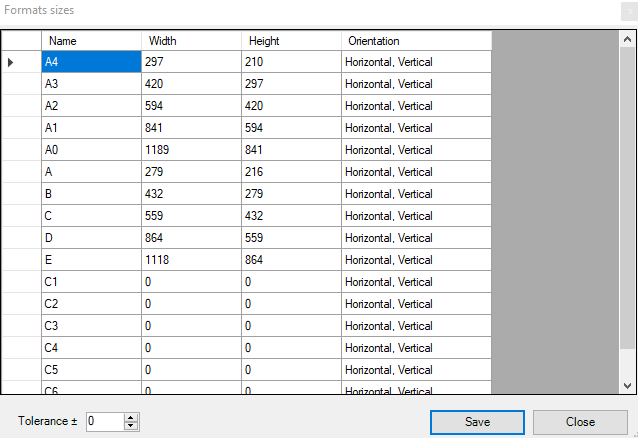
Fill in the "Width"and "Height" columns.
- If necessary, add a tolerance for width and height measurements when detecting formats.
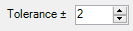
For the custom size 'C1'  If your drawing has a specific size: Width 280 and Height: 217, it will be detected.
After each change to the table, save with the button  .