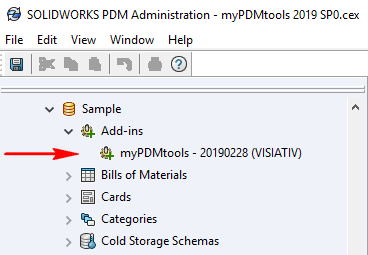
Update
Here are the steps to update to the latest version of myPDMtools
1- Extract the installation files using the extraction setup
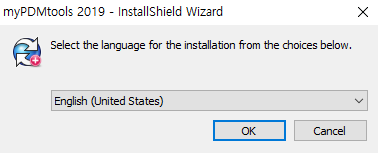
2- Select an extraction folder and continue until the end
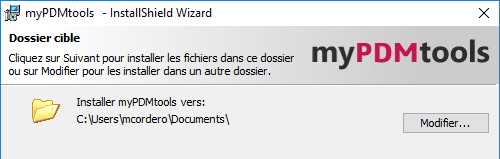
3- The setup created a folder containing the installation files in the "Installation Files" folder
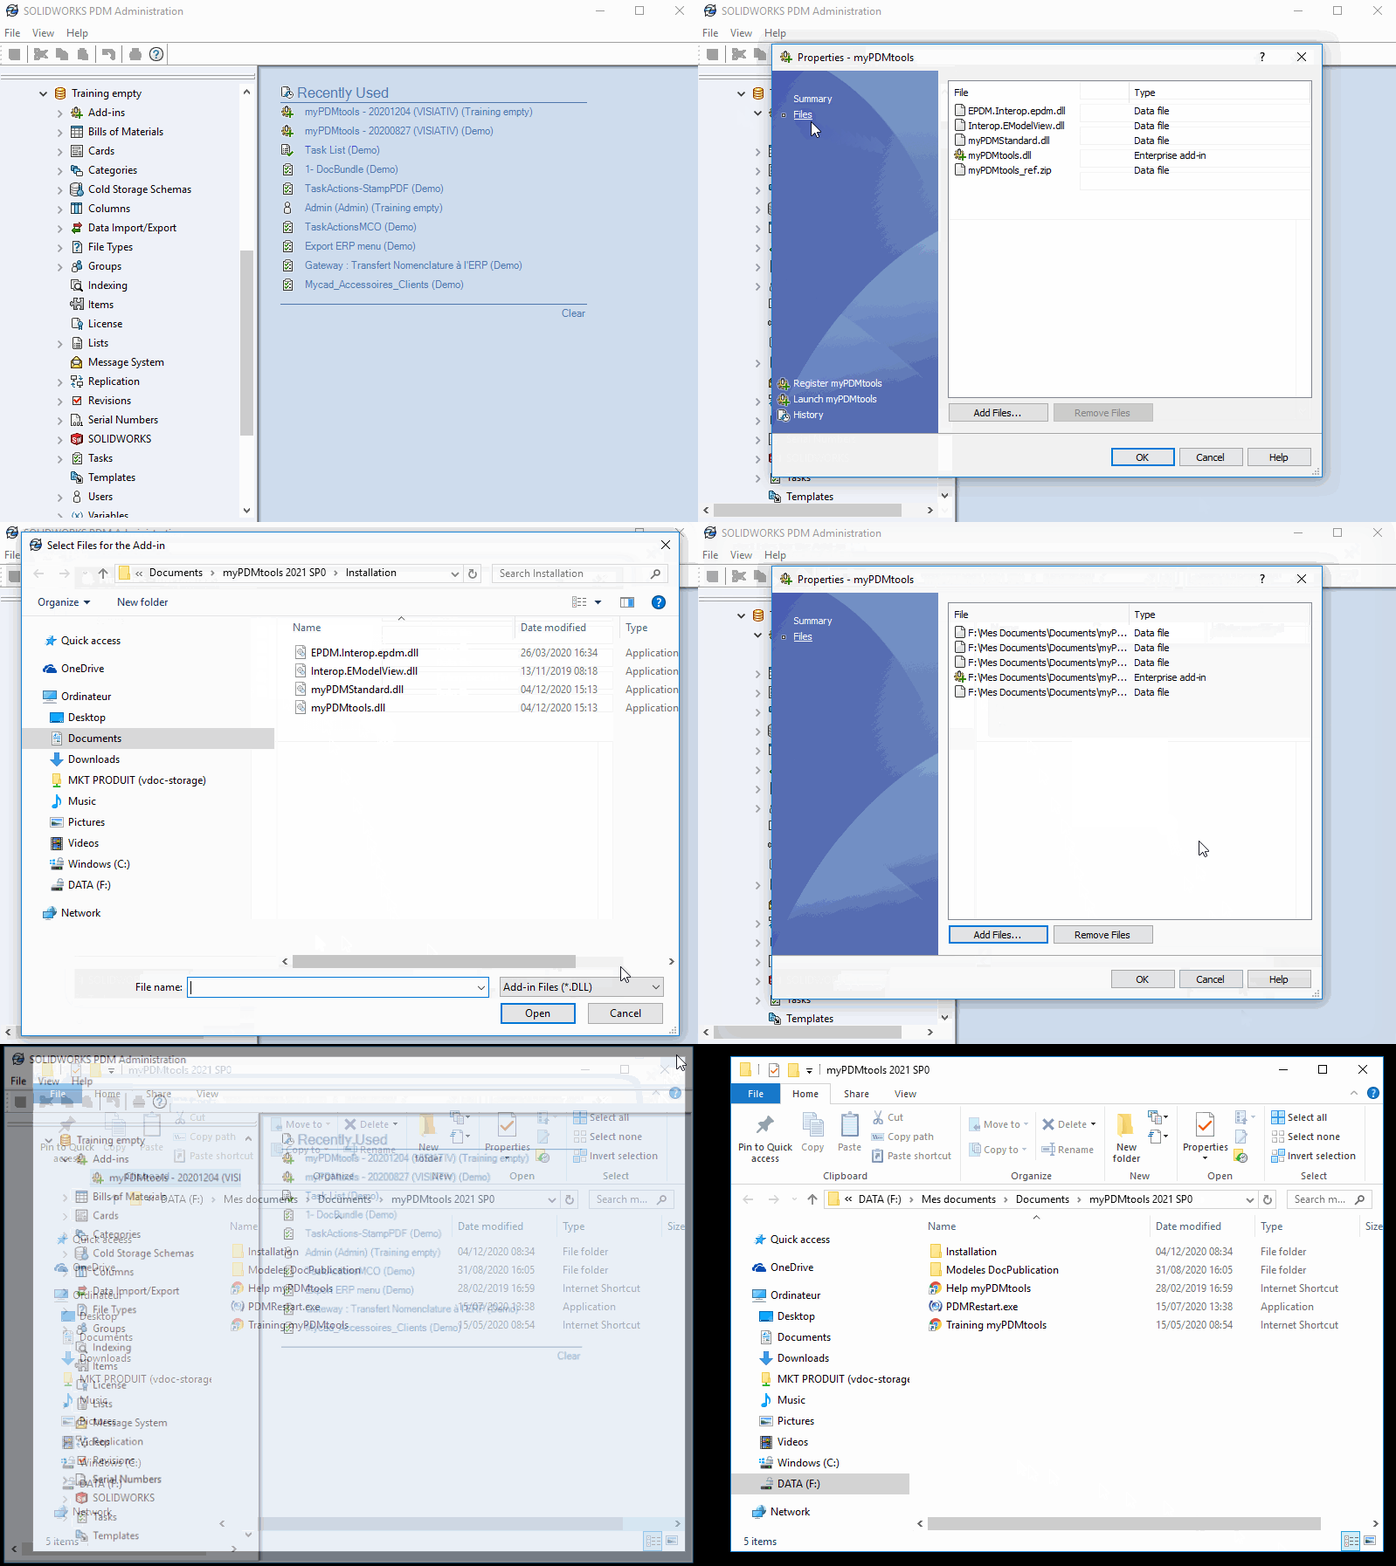
- Open the SOLIDWORKS PDM Administration Console.
- Log in as an Admin user.
- Select the myPDMtools add-on, open the context menu, and select "Open."
- In the myPDMtools add-on properties window, select the "Files" section.
- First, select all the files (CTRL+A) and delete them. Delete the files.
- Next, click Add to add and update the myPDMtools add-on.
- In the file selection dialog, select the "All Files" option.
- Click Open.
- The inserted files are displayed in the following window with a local path.
Next, click OK.
- Confirm the following message by clicking OK, and then close the SOLIDWORKS PDM Administration window.
You will need to restart the client computers before using the new version of myPDMtools.
This procedure ensures that the latest version of myPDMtools is used on all client computers.
 For this you have two solutions:
- Shut down the administration system, then restart the server and all client workstations.
- Shut down the Administration application, then run the PDMRestart executable on the server and on all client computers.
PDMRestart is an executable file included in the myPDMtools installation process.
PDMRestart performs the following actions:
- Closing SOLIDWORKS PDM connection processes
- Close all Explorer windows
- Deleting the local PDM add-ons directory
- The supplement should then be visible in the administration console along with information about the date the deliverable was generated.